Andruav + Mission Planner over 4G/5G, with Live Video
This is the classic Andruav setup: no radio telemetry module, no analog FPV gear — just two Android phones and a cellular connection, giving you Mission Planner control and live video anywhere there’s 4G/5G or WiFi.
Tip
This is the same link that carried radio control input for a 12,193 km demo — a car driven in Cairo, Egypt, with the driver’s controller in Los Angeles, USA. See Andruav Telemetry.
What You Need
An Android phone mounted on the drone/vehicle, running Andruav, connected to the ArduPilot flight controller (Bluetooth, USB/Serial, or UDP — see Andruav Serial Port)
A SIM with 4G/5G data (or WiFi) on the drone-side phone
A free Andruav account and access code — see Andruav Getting Started
Mission Planner (or QGroundControl) on the ground, plus a browser for the WebClient
How It Connects
The drone-side phone is the only thing that needs a cellular connection. Everything else — Mission Planner, the WebClient, a second phone — connects to it through the cloud server, so none of them need to be reachable from the internet themselves:
Flight Controller  --(BT/USB/UDP)-->  Android Phone (Andruav)
                                             |
                                       4G/5G/WiFi
                                             |
                                 Cloud.Ardupilot.org
                                       /          \
                       UDP Telemetry Proxy      WebRTC Video
                                 |                     |
                       Mission Planner /      WebClient / /mobile
                       QGroundControl (UDPCI)  (live FPV view)
Setup Steps
Link the flight controller. On the drone phone, open the FCB connection sheet and pick Bluetooth, USB, or WiFi/UDP depending on how your board is wired.
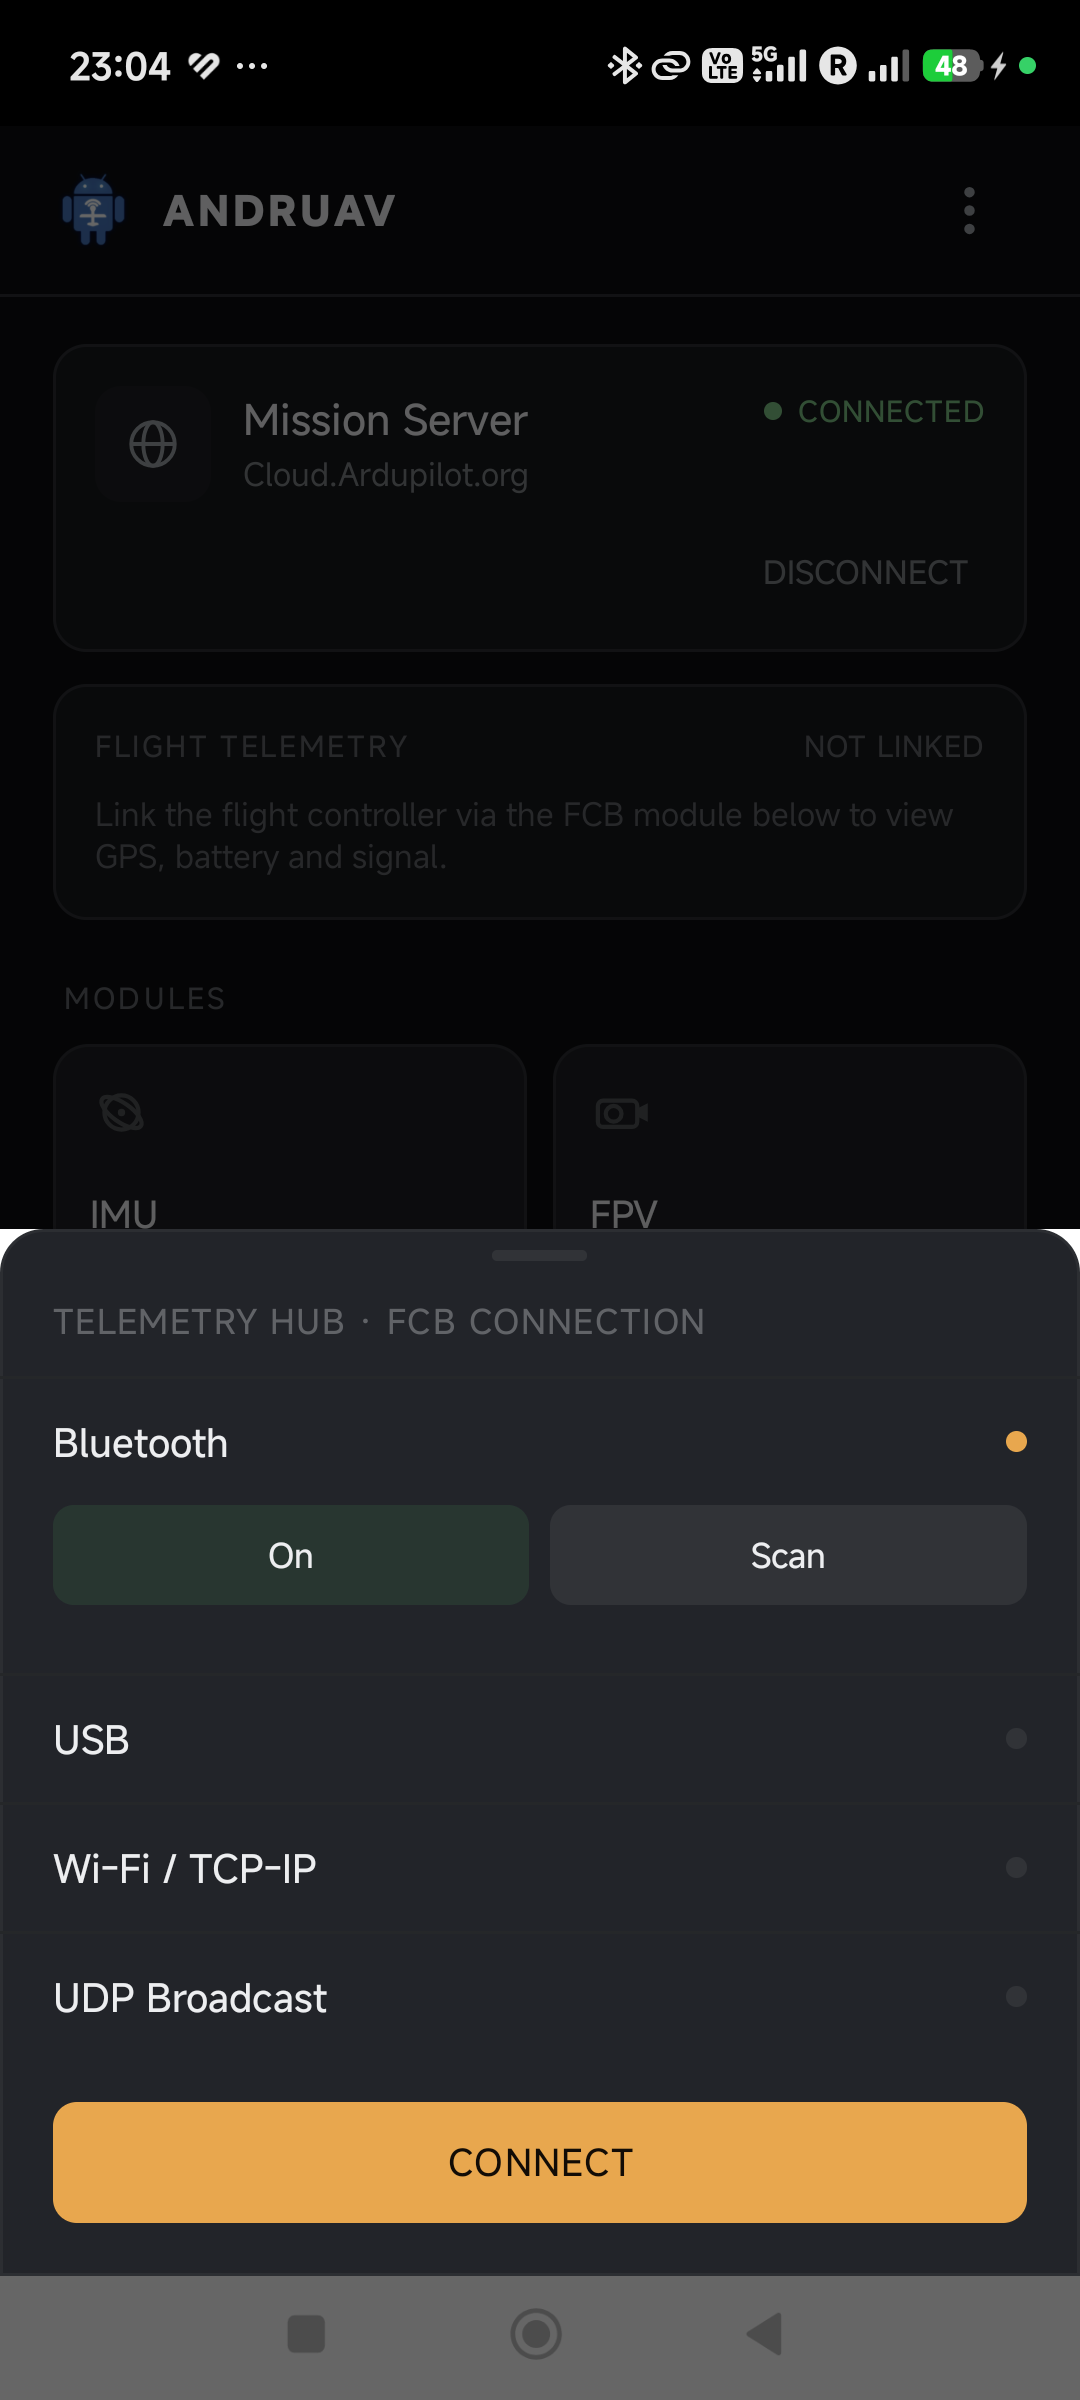
Confirm the cloud connection. The Comm Server screen should show
Cloud.Ardupilot.orgconnected, with your Unit ID and access code set. This is the same link the WebClient and Mission Planner will both reach through.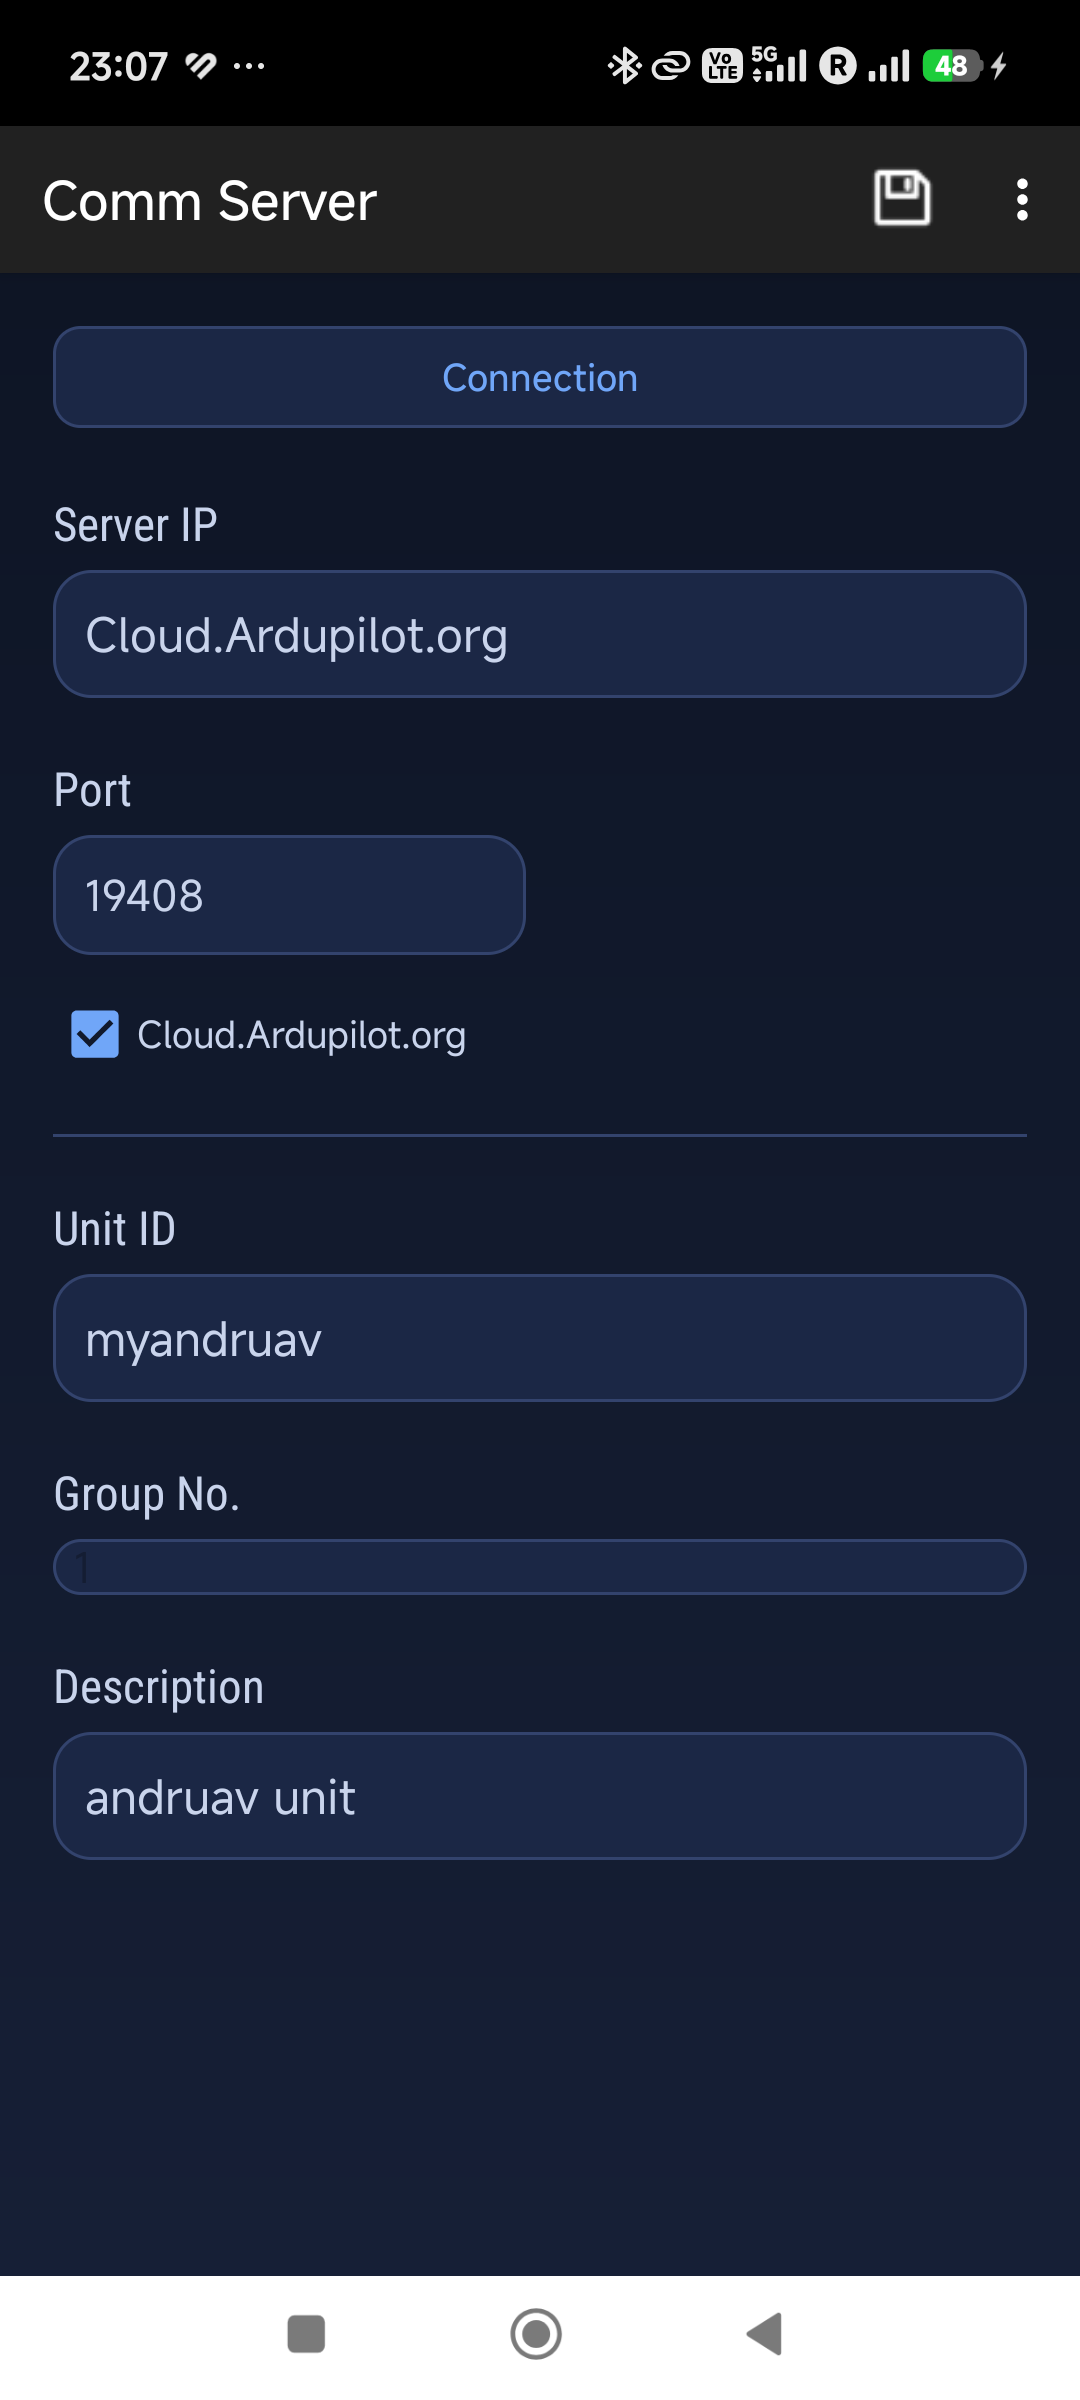
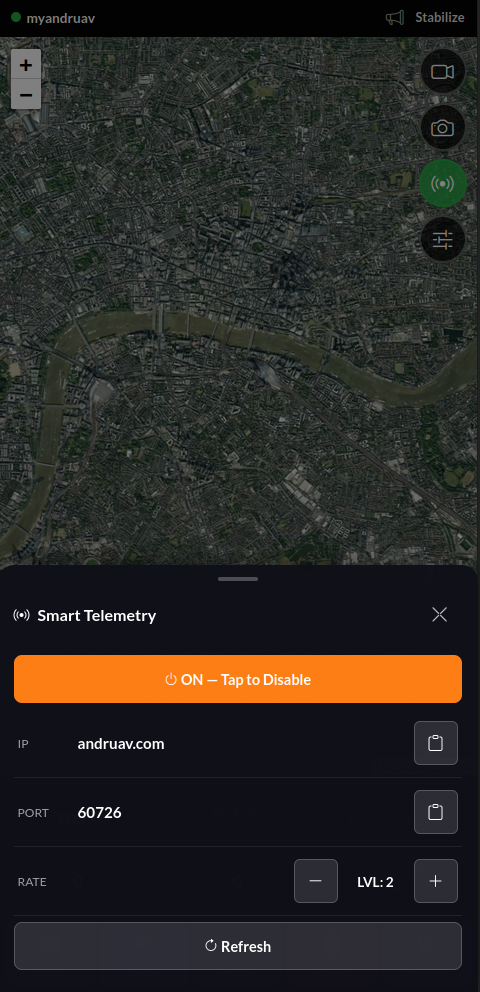
Forward telemetry to Mission Planner. Enable the UDP Proxy — from the phone’s settings, or from the WebClient’s Smart Telemetry panel (also reachable from the WebClient — Mobile View) — and point Mission Planner’s UDPCI connection at the IP/port it gives you. Full detail in Web UDP Telemetry.
Start live video. Open WebClient (or the lightweight WebClient — Mobile View on a second phone), sign in with the same access code, and press the video icon on the drone’s card to start streaming.
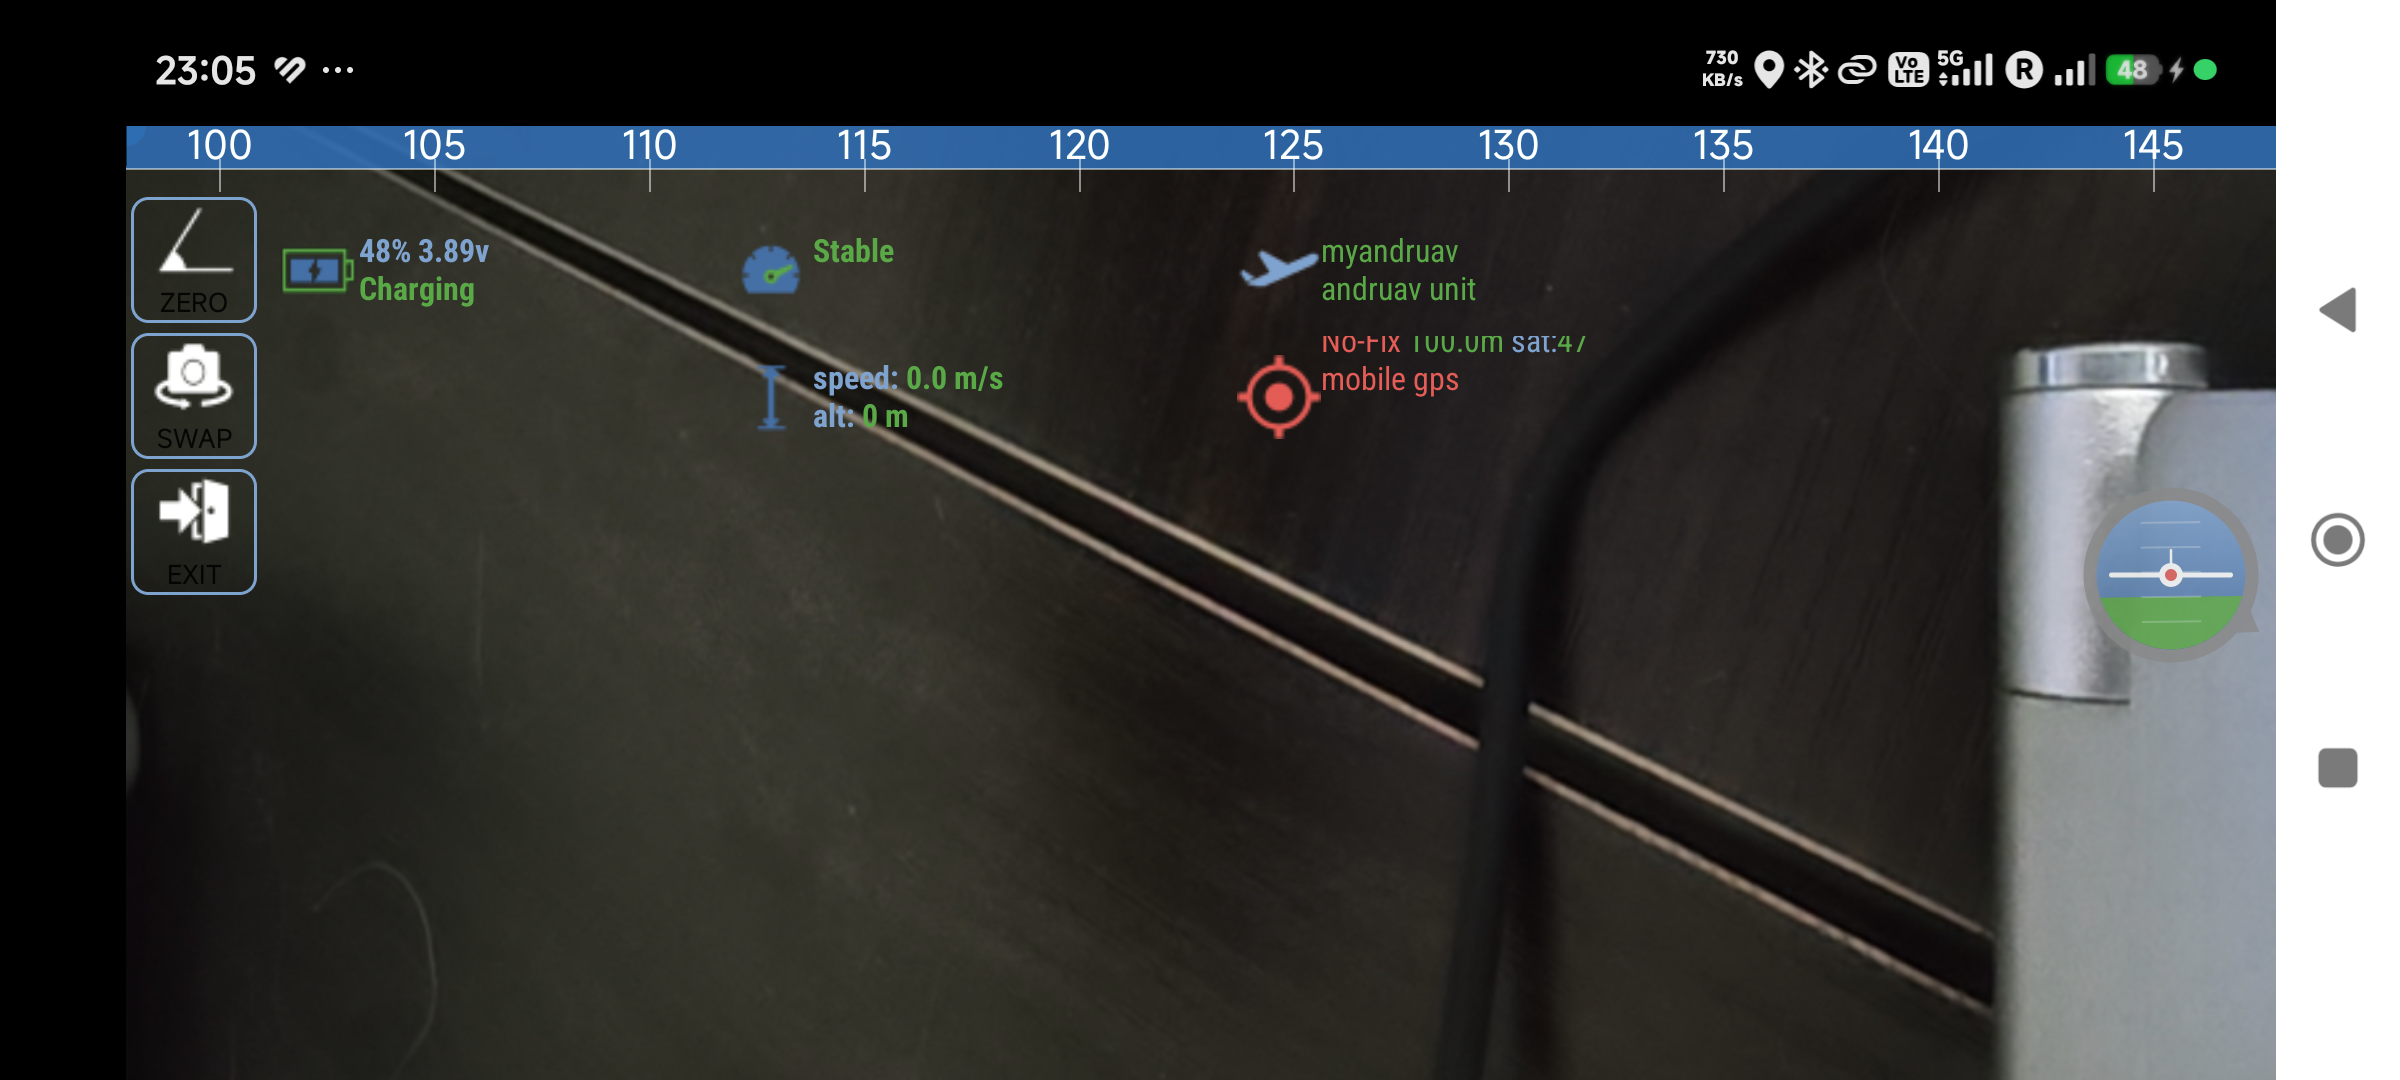
Result
Full Mission Planner control (arm, mode changes, mission upload, RC over the same link) and a live HD video feed, both riding entirely on cellular data — no line-of-sight limit, no separate FPV transmitter, and nothing that needs a public IP or port-forwarding on your end.